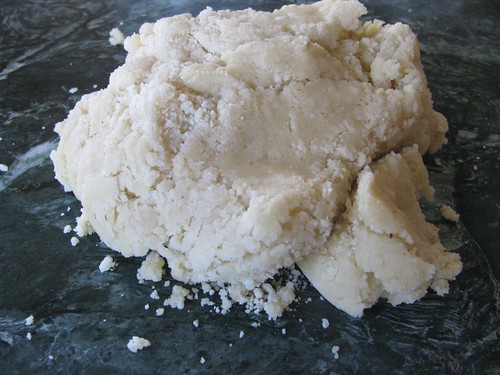
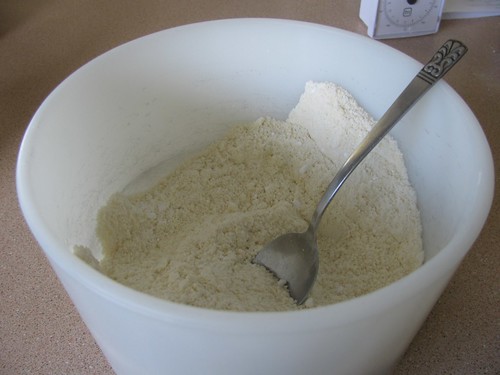
Pages

Showing posts with label baking basics. Show all posts

Sunday, June 5, 2011

Roast Beetroot

I'm going to be entirely straight with you, I wouldn't have posted this if it didn't look like some crazy marble painting in the enamel dish. Mum made me roast beetroots once during my vegetarian phase and when I expressed some sort of interest in making them again, she gave me the enamel dish and four beetroots and sent me on my way with a Maggie Beer method.

I'm sure these would be great as a side dish, I had them in pasta with cream cheese (I'm 99% sure. It was something creamy but not cream; it was also about six weeks ago and my mind has since been filled with verb conjugations) and that was great. As long as you're careful, its not quite the mammoth task I'd built it up to in my head.

EDIT: I think it was actually aioli, not cream cheese. I don't like cream cheese enough to have had it lying around in my fridge after a trip home, and I just saw the aioli in my fridge and was like "OH YES THAT". 
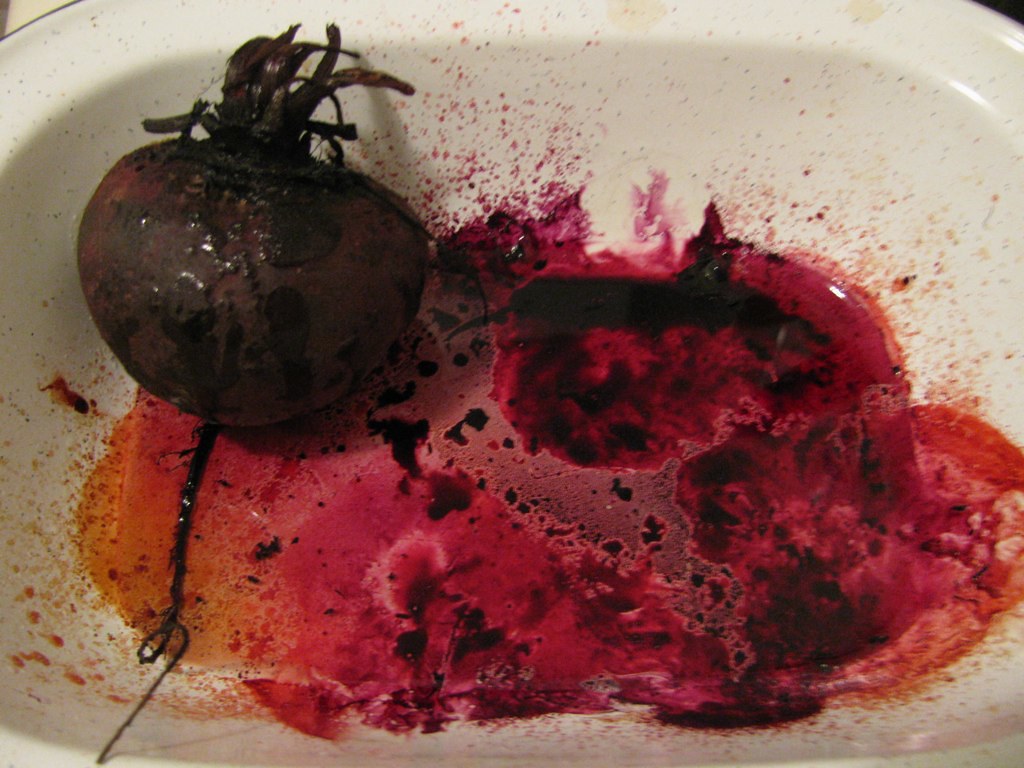


ROAST BEETROOT
Serves 4
Total time commitment: 10 minutes active, 40 minutes cooking
Recipe from Maggie's Harvest by Maggie Beer


4 beetroots
Olive oil
Water
(its recommended you do this in an enamel pan, I've never done it without one so I don't know if it would work or what happens)

1. Preheat oven to 180C. Cut the stalky bit from your beetroot 2-3cm above the beetroot, otherwise they will bleed and your whole kitchen will be dyed pink. Gently rinse the beetroot.

2. Place the beetroots in the baking dish and drizzle with olive oil and about 2tsp water.

3. Cover with alfoil and bake for 40 minutes.

4. When beetroots have cooled, gently rub off the skin. I would recommend wearing rubber gloves for this, thankfully I have a lemon tree outside that I could pinch some lemons from to get the nice pink colour out of my hands before I dyed the kitchen but it was touch-and-go (or rather, don't touch and go, AMIRITE) for a while.

5. Cut and serve however you would like!

Thursday, May 19, 2011

How to: Chop an onion

So I thought I had this down until I was at Levi’s a while ago and his dad showed me this way to chop onions. It’s a lot easier. Good work, Keith. I took a lot of photos in case I am awful at explaining what I mean.

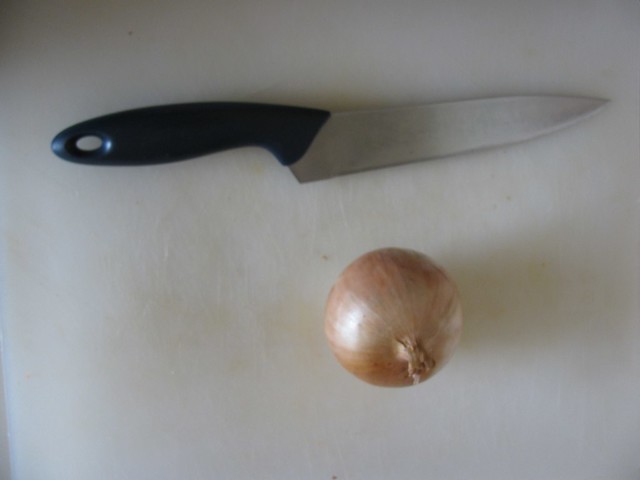
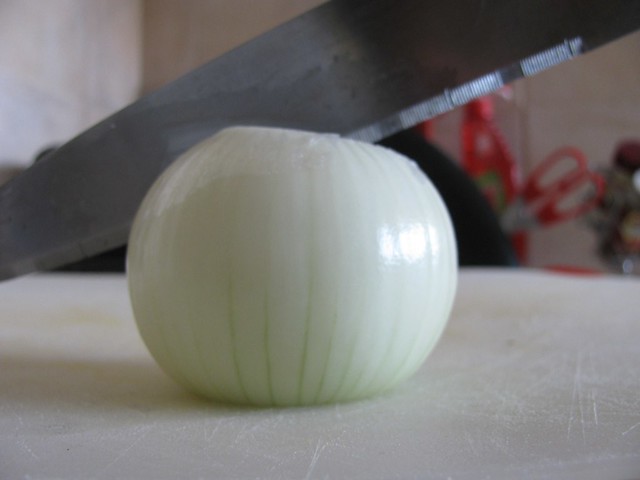
For this (surprise!) you will need an onion and a sharp knife. This is what an onion and a sharp knife look like.


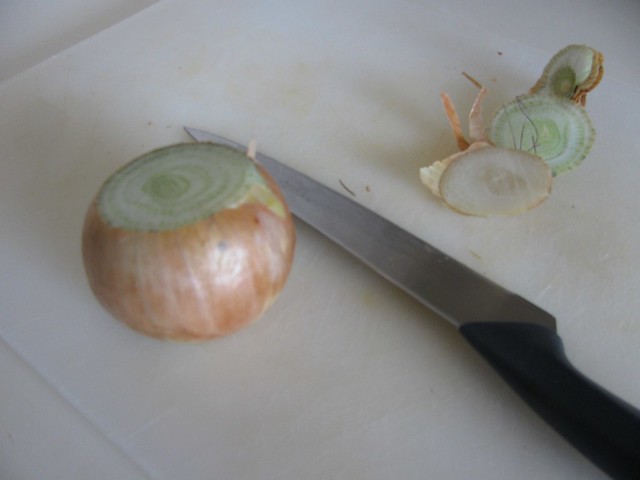
Cut off the top and bottom of the onion.


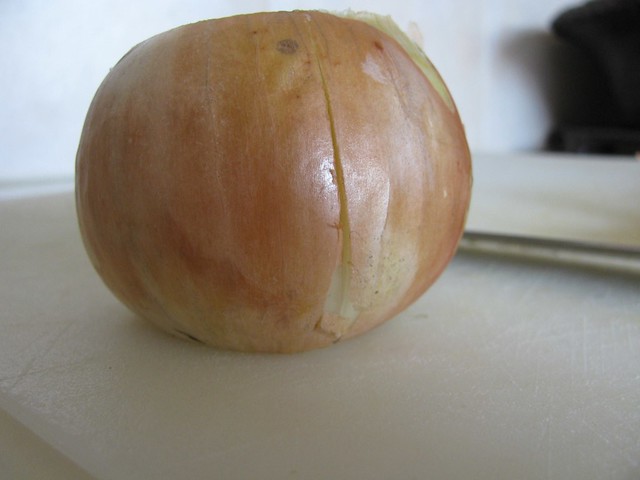
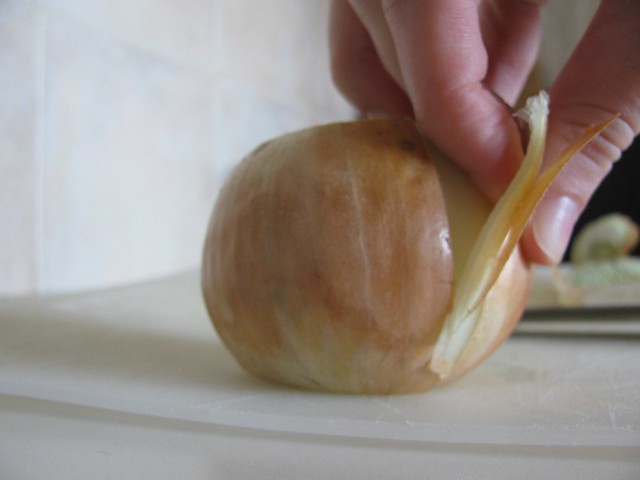
Slice down through a layer of skin and peel off. I normally take off one of the white (see through?) layers as well because lately the outside layer has been kinda gross. Up your game, local shops.


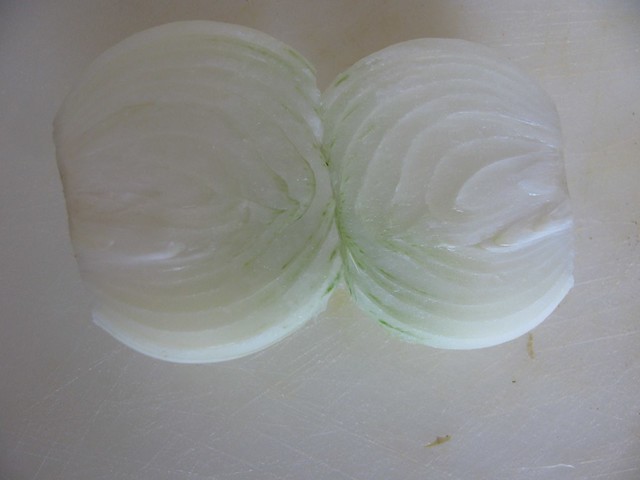
Stand the onion on one of its newly flat edges (where you cut off the top or bottom), and slice in half.


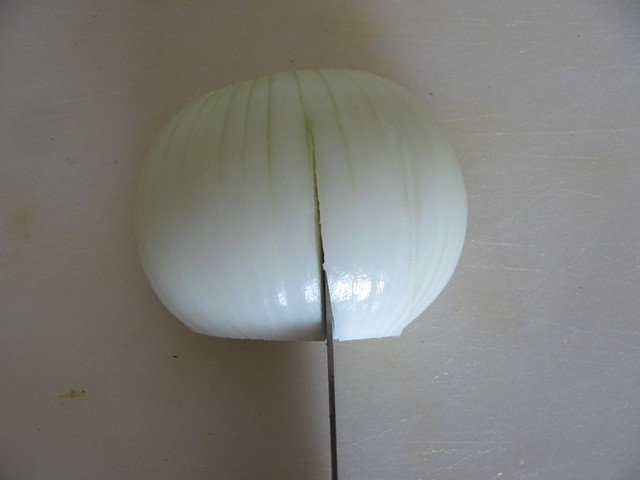
Get one half of your onion, and make incisions lengthways along the onion, leaving a gap at the top so it holds together. I’ve left quite large gaps because I only wanted it roughly diced, but you can put them closer together for a finer dice.


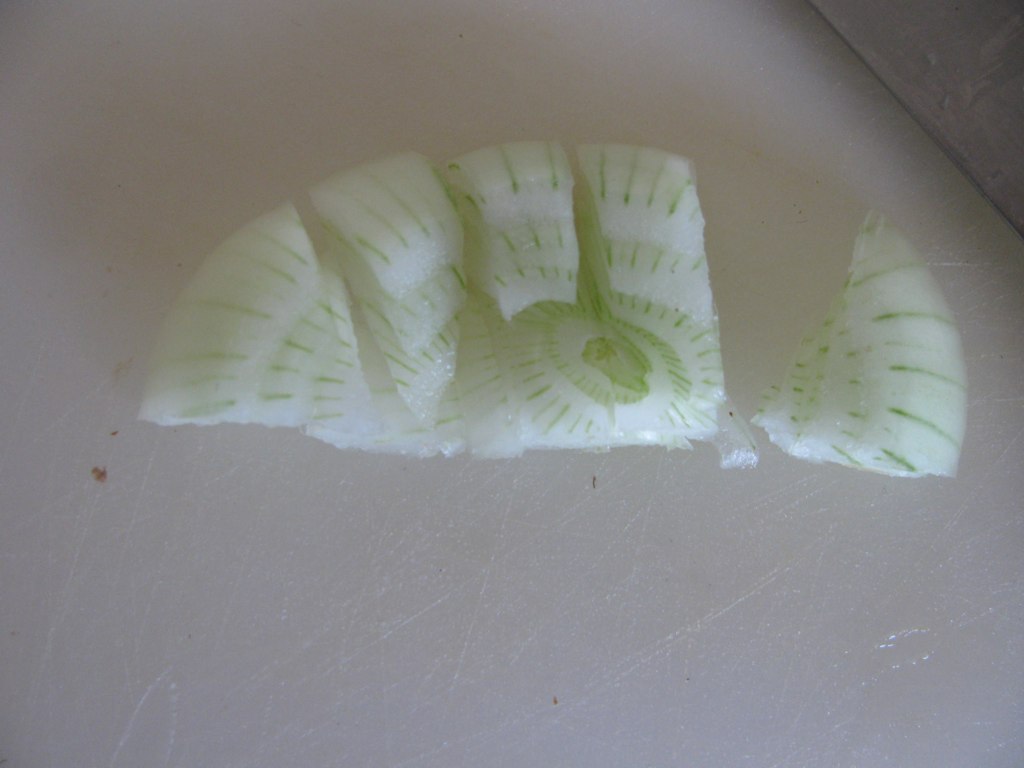
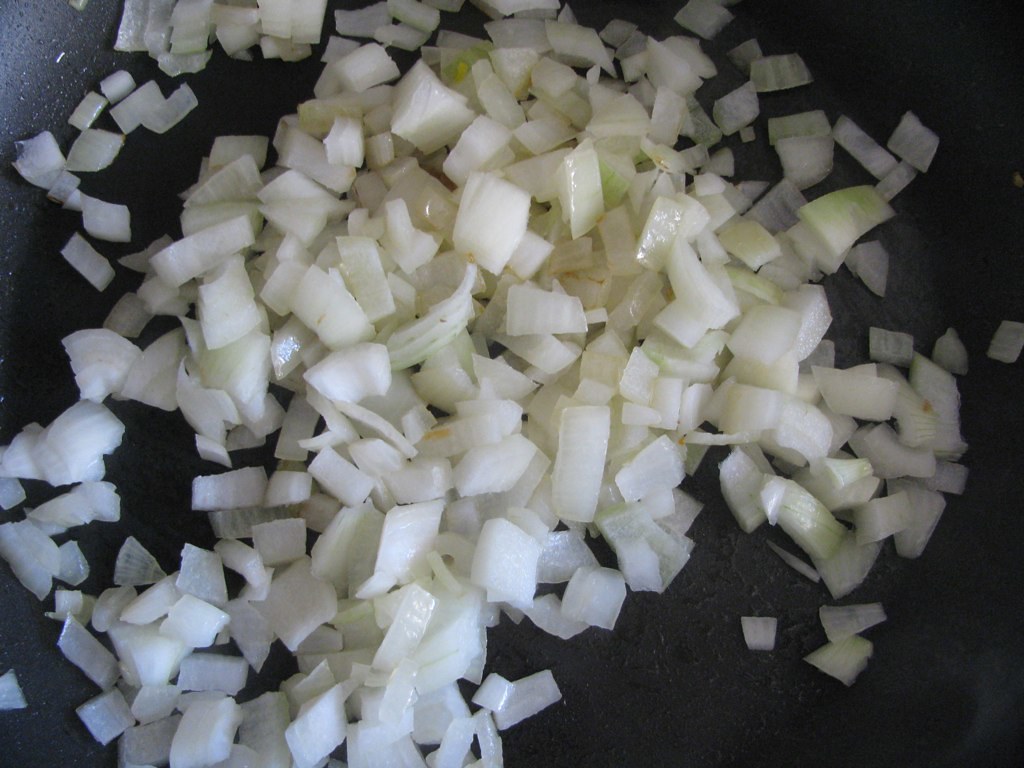
Holding your onion sides and being careful about that knife, cut the other way along the onion to dice it.


Once you get to the bit that has no incisions on it, you can just roughly chop that into pieces.

Friday, April 15, 2011

Gluten Free Friday: Bolognese Sauce

This is one of my favourite staples, but somehow I managed to spend 14 months living out of home before making it. The recipe is amazingly straightforward, requires very little active cooking time, and is delicious.

Are you sold yet?

I know its a bit mean putting something you traditionally eat with spaghetti as a GFF post, but there are a bunch of other ways you could use this! I'm thinking of subbing tomatoes for salsa and basil and oregano for chilli flakes and having it on top of nachos, because that's how I roll.


BOLOGNESE SAUCE
Serves
Total time commitment: 15 minutes, plus simmering
From my mum's recipe


1 onion, diced
500g mince
1 carrot
50g tomato paste
400g can diced tomatoes
Basil and oregano, to taste

1. Heat some olive oil in a pan and cook the onion.


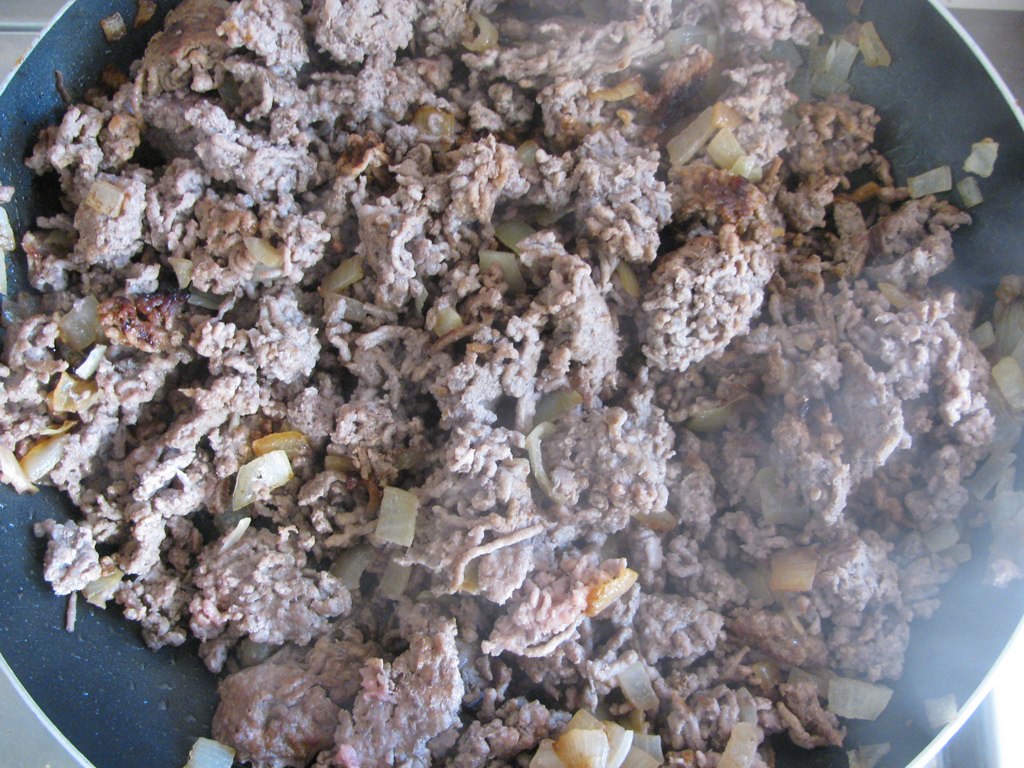
2. Add mince and cook until browned.


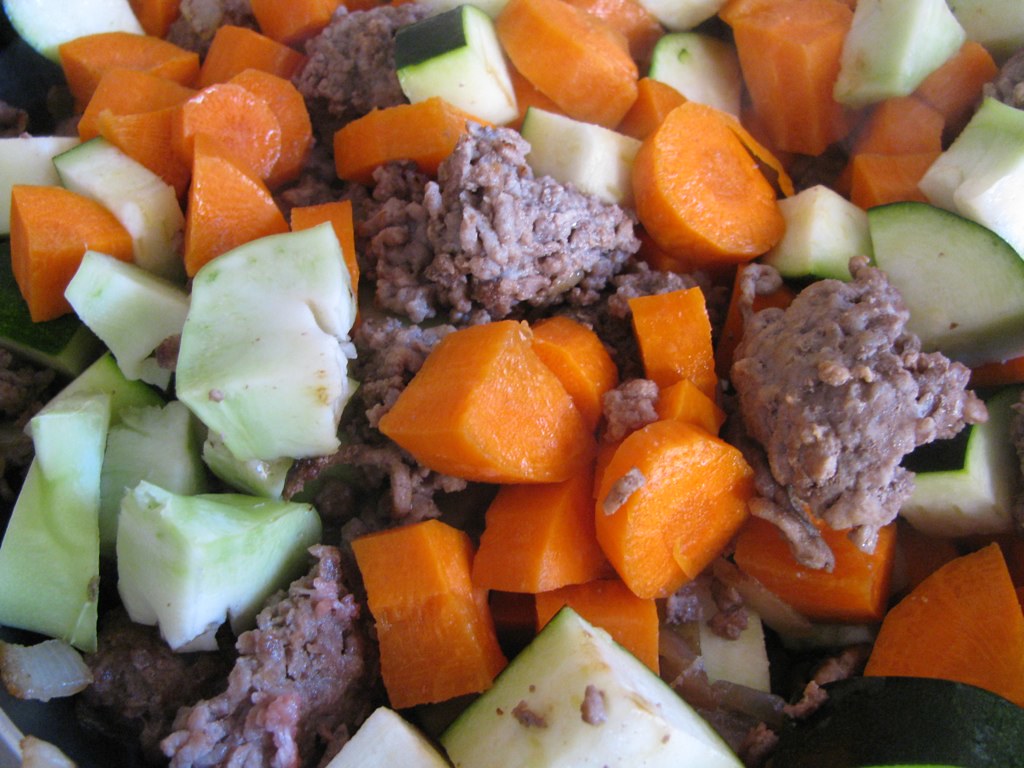
3. Peel and dice the carrot, and add to pan. I added broccoli stalk and zucchini for extra vegetable power, what of it.


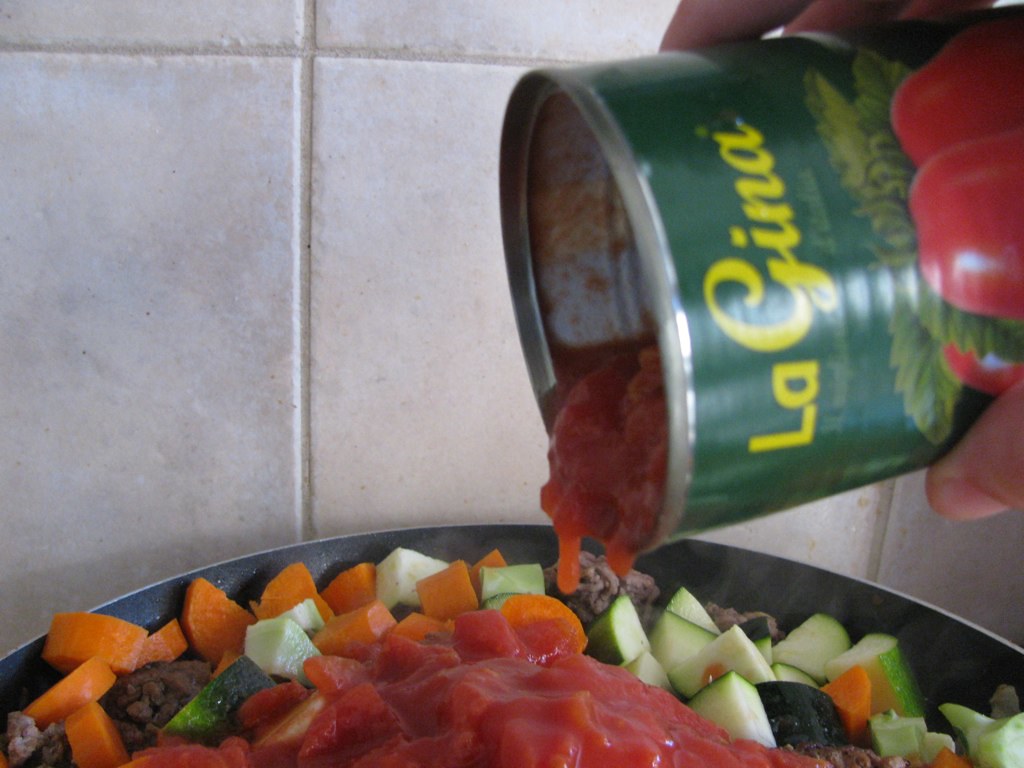
4. Add tomato paste, diced tomatoes, and basil and oregano, and simmer until everything is cooked, the carrot/vegetables is/are tender, and it isn't overly liquidy.


Sunday, April 10, 2011

Not Your Mama's Pop Tarts

Actually, these probably would be my Mama's choice of Pop Tart, if the choice is between these and the saccharine toaster things.

The pie crust dough is definitely one of the baking basics you should remember. It was delicious and buttery and easy. I'm not actually that big on pie, but winter is coming so I've stored it just in case! In going back to get the links for the pie crust and that, I found the Smitten Kitchen pop tarts recipe. Stay tuned, fellas, because I wanted to make Nutella pop tarts anyway and I think that will be my vehicle to try them.


POP TARTS
Makes 10 small or 6 large
Total time commitment: 
Assembly idea from Chez Pim, dough recipe from Smitten Kitchen

2 1/2 cups flour
1 tbsp sugar
1 tsp salt
225g cold, unsalted butter
1 cup water
Filling - I used strawberry jam, but I think Nutella would be equally delicious.

1. Throw some iceblocks into your 1 cup of water. I don't know the science behind this, or why it is useful, but thats what the recipe said. Leave that to sit until you need it. If you're in WA at the moment, it will take approximately three seconds for the ice to melt because it is SO. DARN. HOT.

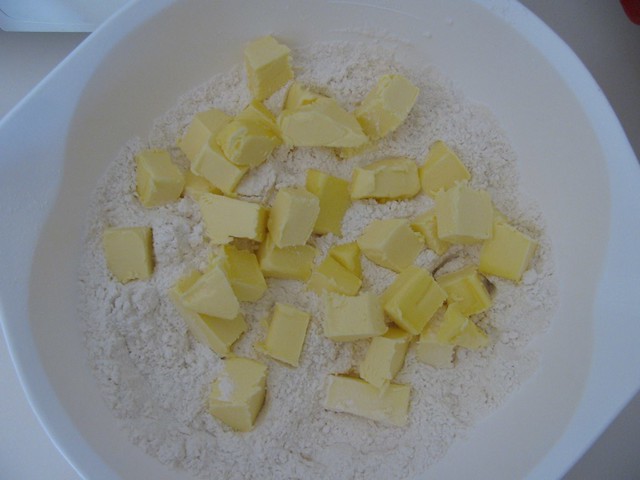
2. Combine flour, sugar and salt in a large bowl. Cube the butter, add it to the dry ingredients, and mix it in with your fingertips. If you want to get all fancy, Deb uses a pastry cutter, but I find that BRUTE STRENGTH is equally easy.*

*I have never used a pastry cutter, so it probably is easier. Carry on.


3. When the butter is kind of pebbly and the size of small peas (or larger, if you're me and have neither the aforementioned brute strength or pastry cutter and a penchant for laziness), add half of the water. If the ice cubes haven't melted by now, for the love of goodness, take them out. Use a spatula to gather the dough together, and add more water a tablespoon at a time until you can get the mixture into one big, doughy lump (by this stage I had given up on the spatula and used my hands).

4. Divide the dough into two and wrap each piece in cling wrap. Chill in the fridge for two hours. I mean chill the dough, not that you personally should chill in the fridge.

5. Hello! Welcome back. Can you please put the oven on to 180C? Cool. Grab your dough from the fridge, break off a piece and roll it out to your desired thickness. As I don't have a rolling pin, I just patted it out to a fairly substantial thickness. If it's too small for your pop tart (you'll fold it in half), roll it back up and add more dough before rolling it out again. This is cooking, people, not rocket science.


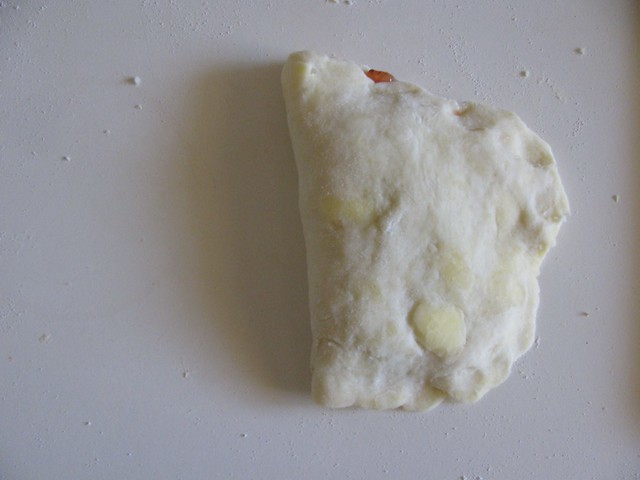
5. Spread half of your dough-rectangle with filling, leaving a border around the edges so it doesn't smoodge out like in the picture. Fold the other half on top so you have a little parcel, and seal the edges by pressing down with a fork. Poke some holes in the top so it can breathe, and put it in the oven. I judged their "done-ness" by colour, and I could have probably left them in a little longer.

Sunday, March 13, 2011

Baking Basics: Homemade Butter

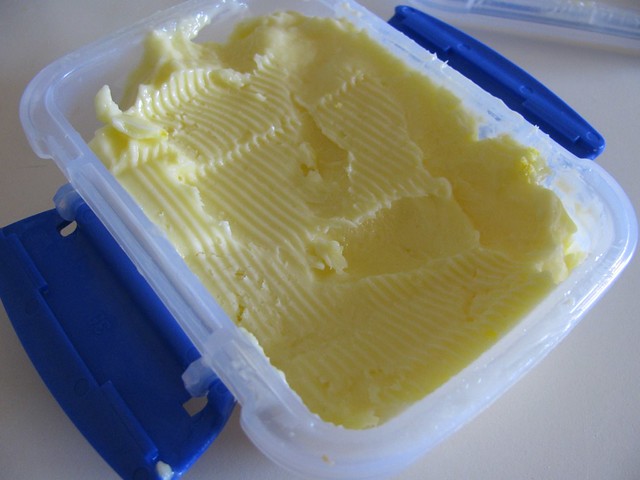
I've been wanting to make homemade butter since I read about it on a blog a while ago. It conjured up memories of Year 1 when we made our own butter, and then I found out that its even easier to do with an electric mixer. When you've made the sale, stop selling, internet! Everyone has also mentioned its a good source of entertainment for kids to make their own butter, and my memories of Year 1 can attest to that.

Keep watching for a scrumptious snack to go nicely with your homemade butter, I promise it was a little source of heaven all week for me. 


HOMEMADE BUTTER
150mL cream makes about 100g butter

Cream
Strong arms or a stand mixer

1. With stand mixer: Put the cream in the bowl.
With brute force: Put the cream in a jar or container, leaving some space at the top for expansion. 

*Want to add extra flavourings to make chilli butter? Garlic butter? Nutmeg, cinnamon, salted? Add them now!*

2. Make sure the lid is secure and shake away, or put the mixer on a medium-low heat. You want the butter to be yellow and separated from the buttermilk otherwise it will spoil very quickly! You can reserve the buttermilk for cooking if you like.

Wednesday, March 2, 2011

Cooking Basics: Rissoles

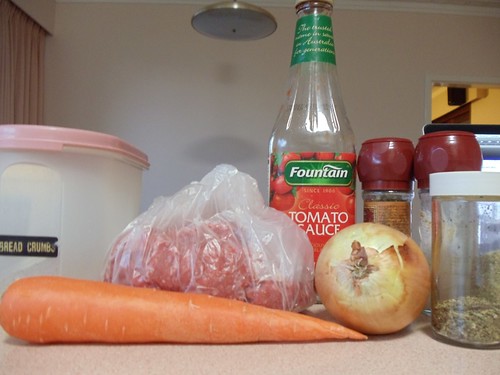
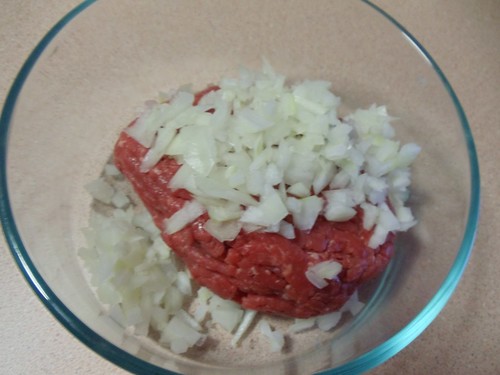
Get all of the ingredients together. You'll need an onion, a carrot, breadcrumbs, tomato sauce, salt and pepper, basil, oregano, and mince. 


Dice the onion and put it in a bowl with the mince


Grate the carrot into the bowl


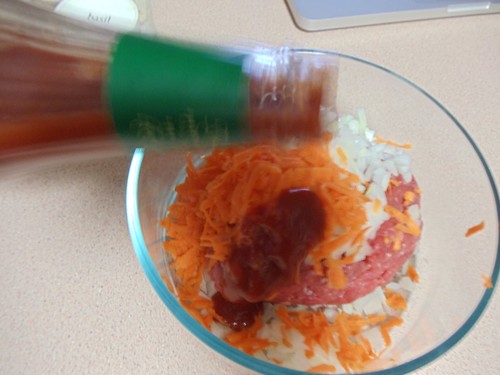
Don't forget a dollop of tomato sauce for sweetness and that extra tang

(Name that song!)
(...)

(... anyone?)


Season with salt, pepper and herbs as you see fit. 


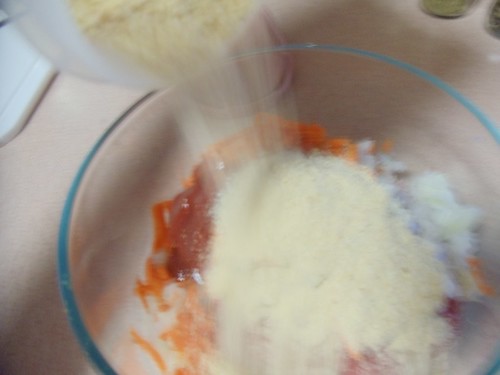
Add breadcrumbs. These help to absorb some of the fat in the meat. So it follows that the fattier the mince, the more breadcrumbs you use.


Fry them in a little oil, and try not to cringe at the blurriness of this photo...


And serve!


You can add an egg to help bind them together a little better, if you so wish. 


RISSOLES

1kg mince
1 onion, finely diced
1 carrot, grated
Tomato sauce
1/2 cup breadcrumbs
Salt, pepper, basil and oregano, to taste
1 egg

1. Combine mince, onion and carrot in a bowl.

2. Add salt, pepper and herbs to taste, a dash of tomato sauce, egg and breadcrumbs. Combine. 

3. Shape into patties and fry in a little oil until cooked through.


Monday, January 17, 2011

Cooking Basics: Poached Eggs (Attempt 1)

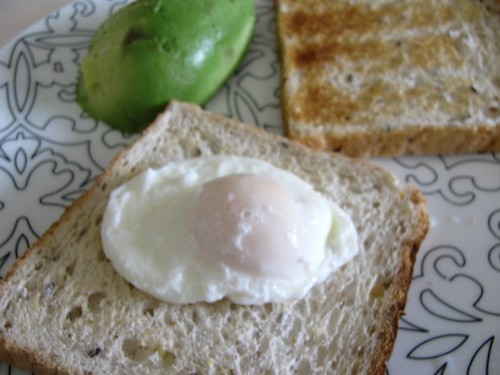
I deliberated about putting this under "cooking basics", because that implies that I am going to give you a recipe for a tried and tested dish (or what have you) that I always make. Not so much with poached eggs, as this was my first lesson in making them! Levi has made them for me a couple of times and this morning I decided he could make one, and I would make the next one. Five eggs later, I was eating one poached egg with my toast :(

On the upside, it was a delicious poached egg.

Does anyone have any poaching tips? I'm determined to get this right!


POACHED EGGS, ATTEMPT 1


1. Bring a saucepan full of water to the boil, and then lower the heat to a simmer

2. Crack an egg into a large spoon (or a 1/3 cup measure) and leave it there for a bit.

3. Using the handle of a wooden spoon, create a whirlpool in the water.

4. Gently lower the egg in and keep stirring to create the whirlpool - this is what binds the white bit to the yolk.

Sunday, December 5, 2010

Baking Basics: Marzipan

Being at Mama and Papa's house this weekend, I decided to make some marzipan because Dad and I both like it (and thats as good a reason as any, right?). Marzipan is really versatile, and great to colour and shape to make marzipan fruits or what have you. This recipe is great because its quick and you don't need to cook it like in other recipes. This is from the perennial favourite of our household for Christmas treats, The Book of Chocolates and Petits Fours.


MARZIPAN
Makes 500g


250g ground almonds
250g icing sugar + extra for dusting
2 tsp lemon juice
2 tsp sherry or brandy
almond essence
2 egg whites

1. Combine almonds and sugar in a bowl.


2. Add lemon juice, sherry or brandy (as you wish), and a few drops of almond essence.

3. Gradually mix in the egg whites, making sure that the pastry is sticky but not wet (YA-HOY).

4. Dust a pastry board with the extra icing sugar and knead the marzipan until smooth.

5. Break off a bit and eat it. You know you want to.


Saturday, October 9, 2010

Cooking Basics: Pizza bases

In spirit of "Buy Nothing New" month, I thought I'd finally get around to posting this pizza dough recipe. We never seem to leave the pizza around long enough to take a photo :P

I got a recipe from Miss Italia, but sadly she is in Italia this semester and I had to google about for one. Not as cool, guys. :(

PIZZA DOUGH


2 cups flour
7g dry yeast
1 tsp caster sugar
1/2 tsp salt
2 tbsp olive oil
3/4 cup warm water

1. Combine ingredients in a bowl and knead a bit

2. Put it back in the bowl, cover with glad wrap and leave for 30 minutes to rise

3. Come back, take the dough out of the bowl, and punch the air out of it. Seriously. Punch it once. Bread-making is good for anger management.

4. Knead it and roll it out to the size you want.

Miss Italia taught me to put olive oil on both sides of the dough before you put the topping on it. And so did The Goon, whose mother is a cooking teacher. So there's a nifty tip for you!

Monday, October 4, 2010

Cooking basics: Bread

This is a standard bread recipe that I adulterated from Jamie Oliver's Happy Days with the Naked Chef. The measurements are what I used to make five small (roughly palm-sized) rolls, but thats only because its what I had left in flour without breaking into a new packet! I'd suggest doubling it if you want a decent loaf of bread.


BREAD


200g flour
125mL lukewarm water
10g dried yeast
1/2 tbsp sugar
1/2 tbsp salt

1. Place flour in a bowl and make a well. Pour in approximately half the water and add yeast, sugar and salt.

2. Combine ingredients to a porridge-like consistency, add the rest of the water and combine.

3. Knead the dough, cover in cling wrap and leave for half an hour.

4. Knock the air out of the dough (punching it a few times usually works) and form it to the shape you want. If you want to add fillings to your dough, do it now.

5. Leave the dough to prove until it has doubled in size (I normally cover it with a teatowel at this stage).

6. Bake the bread. DELICIOUS.

Friday, September 10, 2010

Cooking basics: White sauce

White sauce is wonderful, because its quite easy to make (as long as you aren't totally averse to stirring) and you can use it as pasta sauce, in mac and cheese (more on that later), in lasagne... probably other things but that's all I've gotten to so far!

*oh hello, one day when the white sauce isn't quite so delicious and I am not quite so hungry, a picture will go here!*

WHITE SAUCE

For two people to have with pasta

2 tablespoons butter
2 tablespoons flour
1 cup milk
Cheese. As much cheese as your heart desires.


1. Melt the butter over a low heat

2. Add the flour, stir for one minute.

3. Take off the heat and add a little milk, stir over heat until thick. Repeat until all milk is added.

4. Add grated cheese and stir to combine. You can raise the heat a little at this point to help it melt faster and save your arm from falling off.

Monday, August 30, 2010

Baking Basics: Butter Icing

Butter icing is one of those things that I am probably going to use whenever I make a cake. It is just so gosh-darn easy, and it tastes nice, and everyone should learn how to make it.

There's a few variations on butter icing, and it all depends on your taste. I generally start with 1:1 for butter and icing, and you can modify that as you want. Some people also add a splash of milk - I do that sometimes but normally I like to save the milk for the cup of tea I'll invariably be having with my freshly-baked goodies :)

BUTTER ICING

For 18 large cupcakes or one standard-size cake

100g unsalted butter
100g icing sugar

1. Combine until smooth.

SERIOUSLY, that's it. Of course, you normally want to flavour it or colour it or maybe even both (LOOK OUT). If so, once its combined, you need to add in your flavouring/colour and then combine it. Here are some suggestions:

- Melt some dark, white or milk chocolate (as you wish). Or combine them!
- Put some cocoa, coffee or Milo into a cup and mix with a little hot water to make a paste
- Put a few drops of flavouring essence into the icing - vanilla or peppermint (in chocolate icing... mmm choc mint) or whatever takes your fancy!
- Mocha icing: Combine cocoa and coffee!
- Put a few drops of food colouring in and combine until you get to the desired colour
- Grate some lemon/lime/orange rind into the icing