Pages

Showing posts with label cake. Show all posts

Saturday, October 8, 2011

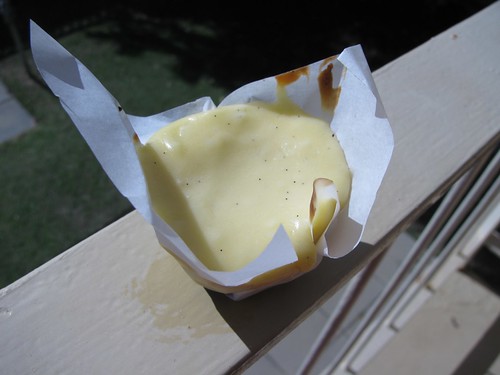
Gingerbread Cuffins with Cream Cheese Icing

Do you ever get to that stage where you know you've had a recipe bookmarked for ages, but its not until you finally get around to making it that you see how embarrassingly long it has been there for? I realised when I finally got around to purchasing all of the ingredients yesterday that Sian published this recipe in December 2009. Gracious me. I had been planning to make these yesterday, but then my friend who I haven't seen in almost a year (disgraceful!) came over with cupcakes and we had a grand old time which meant I needed to devote the rest of my afternoon to uni work. So instead when I woke up at 8 this morning after having a terrible sleep, I made these for breakfast. Also I can highly recommend the uncooked mixture as one of the more delicious things I have eaten.

Sorry, family members who think I am responsible. It gave me the boost I need to write more of my essay! That counts as responsibility!
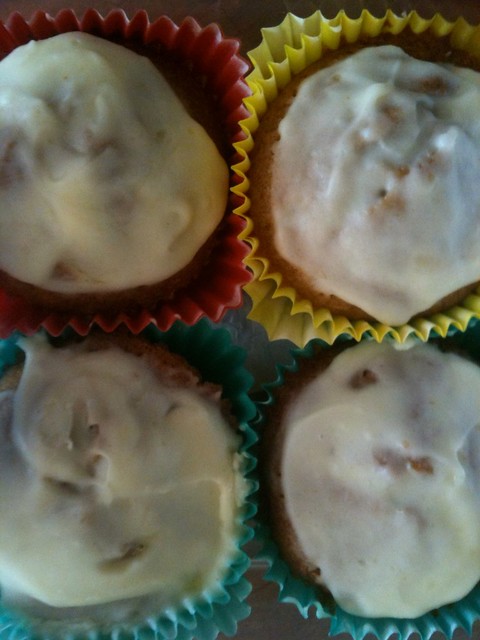


I'm still not sure whether to call them cupcakes or muffins... I feel like cupcakes are terribly dainty and adorable and celebratory, and the spices in these make me want to call them muffins. I think the fact that it is cream cheese icing, which must be healthy because its used on carrot cake and that is a cake with CARROTS in it so +50 health points, has swayed me to the "muffin" side. Even though I know what is in cream cheese icing now and its essentially butter icing with cream cheese. Cupcake muffins. Cuffins.
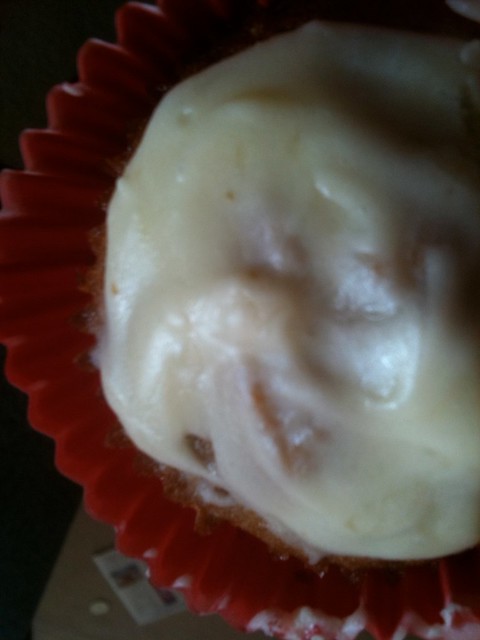
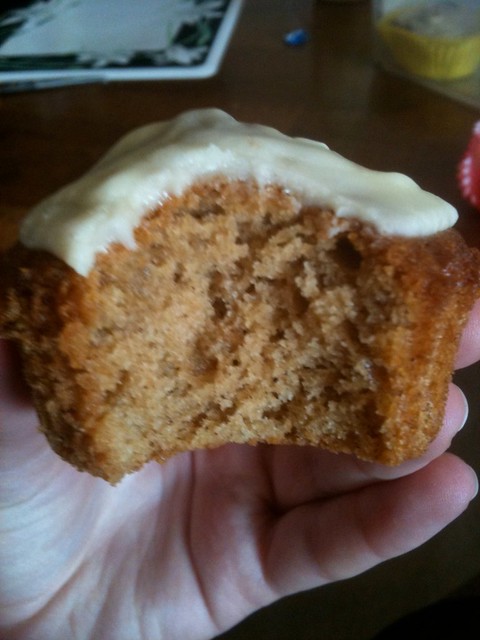


GINGERBREAD CUFFINS WITH CREAM CHEESE ICING
Makes 10 large, muffin-sized serves
Total time commitment: About 40 minutes, including 20 minutes cooking time
Recipe from Monster Girl Writes

1/2 cup SR flour
1/2 cup plain flour
1/4 tsp bicarb soda
2 tsp ground ginger
1 tsp ground cinnamon
1/4 tsp ground nutmeg
1/2 cup brown sugar
1 egg
100g butter, softened
1/4 cup milk
2 tbsp golden syrup

Preheat oven to 170C. Combine dry ingredients, then add wet ingredients and mix together. Spoon into cupcake liners and bake until springy and golden.

While cooking, combine the following:
30g butter
50g cream cheese
2/3 cup icing sugar

When the cupcakes are done, take them out of the oven and let them cool for 5 minutes before icing them. Lovely!


Sunday, July 31, 2011

Pineapple Upside-Down Cake

So pineapples were $2 each a few weeks ago, and in my "Grocery shopping is FUN!" haze (that's not even sarcastic, I really do enjoy it. I recommend having a grocery shopping date as your weekly get-together with a friend, I don't think I'd be able to function without it) I bought one with some vague hopes of making a juice in my smoothie maker.

About a week later, Meryl came over and asked why I had a pineapple ("I dunno") and what I was going to do with it ("I dunno"), then decided we would make a pineapple upside down cake, and that was that. Meryl is my friend's girlfriend who lives in America but came over for visiting and we got to spend a crazy amount of time on my couch watching trashy TV while her boyfriend was at work. It was as awesome as it sounds, trust me.

Apparently this is more dense than they normally are, but I didn't have any complaints! Anything that can be thrown together reasonably simply with ingredients I already have is fine by me.

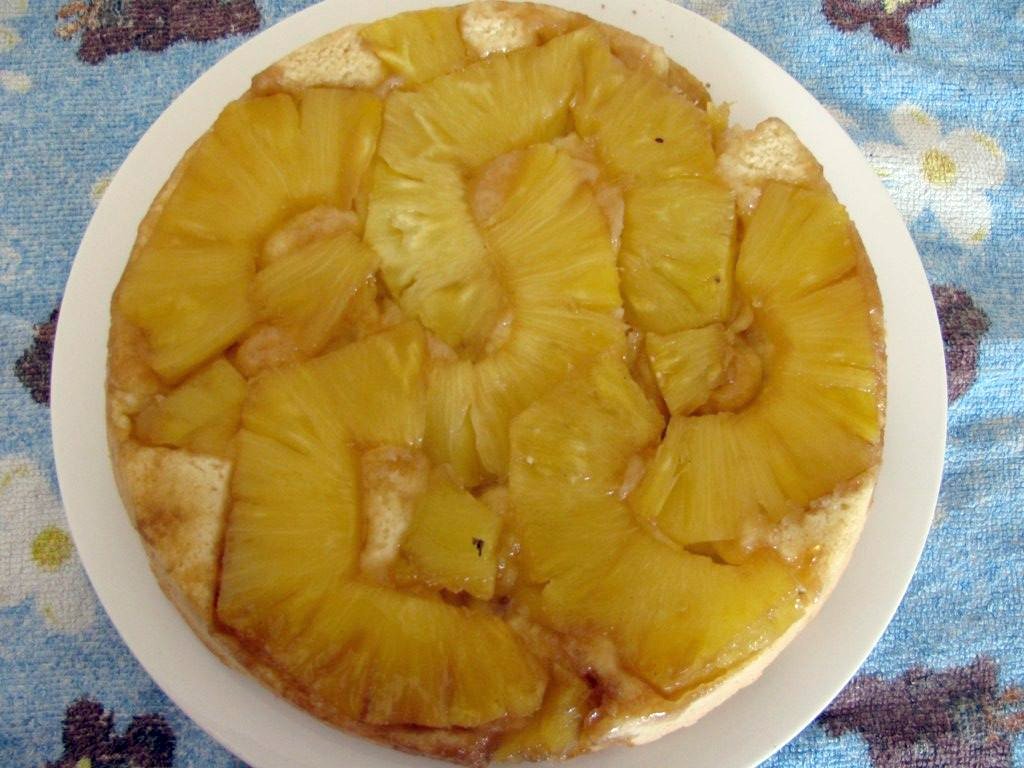
Non-inverted Second Cake and inverted First Cake (we doubled the recipe to use up all of the pineapple)


PINEAPPLE UPSIDE-DOWN CAKE
Serves 8
Total time commitment: 40 minutes - 1 hour, most of which is baking
Recipe from Taste.com.au


1/2 a pineapple, cut into rings; or 440g can pineapple rings
1/3 cup brown sugar
90g butter, softened
1/2 cup caster sugar
2 eggs, lightly beaten
1 1/4 cups self-raising flour

1. Preheat oven to 180C. Grease a round cake pan with butter and sprinkle brown sugar over the base of the pan.

2. Arrange pineapple over the brown sugar. If you need to cut the rings in half to get them to fit, please do, it is better to have halved pineapple on your slice than no pineapple! You could even halve all of the pieces if you are concerned about the aesthetic value.

3. In a mixing bowl, cream butter and sugar with an electric mixer. Add eggs, one at a time, and mix until combined. Add flour and stir to combine.

4. Spread cake mixture over the pineapple and bake 30 - 40 minutes, or until a skewer/chopstick/knife/other implement you have on hand inserted into the centre comes out clean. Cool, invert onto a plate, and serve.


Monday, June 13, 2011

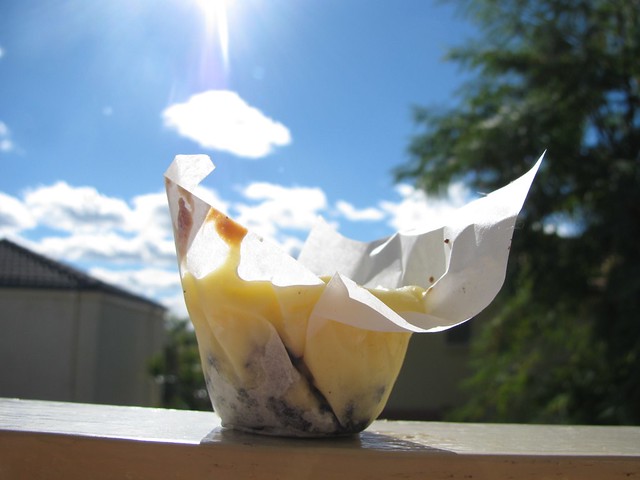
Secret Recipe Club: White Chocolate Cheesecakes

So I had a bit of a falling-out with Daring Bakers, mainly that I was struggling to fit everything in with my increasingly hectic life. I know, life's hard. So what did I do to fill the void? Joined another recipe club! This one is the Secret Recipe Club, and every month you are assigned another member's blog to bake something from. Exciting!

I was assigned to Lizzy's blog, That Skinny Chick Can Bake!. If these cheesecakes are anything to go by, she certainly can :) I've actually bookmarked a whole bunch of recipes from her site because it was such a dilemma only picking one. I highly recommend popping over there to check out her stuff.

I haven't edited the recipe much, except substituting Nabisco's Famous Wafers (because I have never seen them before, ever, thanks Australia) for Oreos, removing the Frangelico (because unfortunately, I no longer have mum and dad's alcohol cupboard at my baking disposal) and scaling the recipe down to only use one packet of cream cheese.

The improvised wrappers are squares of baking paper because, in true procrasti-baking style, I had already started the mixture before I realised I had no muffin tins. They didn't look as adorable but they still tasted great!

Thank you Lizzy, you've gotten me through a very stressful study week with these cheesecakes :P


MINI WHITE CHOCOLATE CHEESECAKES
Makes 18
Total time commitment: 
Adapted from That Skinny Chick Can Bake!

One packet of Oreos (150g)
30g butter, melted
1 1/2 tsp sugar
-----------------------------------
250g cream cheese, at room temperature
1/3 cup sugar
65g white chocolate, melted
1/2 tsp vanilla essence
1 egg, at room temperature

1. Preheat the oven to 180C and line a mini muffin tray.

2. Crush the Oreos and combine with the melted butter and sugar. I may have tasted some at this step, and it might be delicious.

3. Divide the Oreo mixture equally between the muffin holder papers (exam-addled brain, I apologise) and press down into each paper to form a base. Pop them out of the way for a while.

4. In a mixing bowl, and using your electric mixer or some serious elbow grease, mix the cream cheese for about 30 seconds. Add sugar and mix for 30 seconds, then add chocolate and vanilla and mix another 30 seconds. Finally, add the egg and beat until just combined.

5. Spoon the cheesecake filling on top of each chocolate crust, and bake for 12 - 15 minutes until puffed but not golden. Leave to cool, and then refrigerate or freeze, making sure the cheesecakes are covered.


Tuesday, March 29, 2011

Daring Bakers: Yeasted Meringue Cake

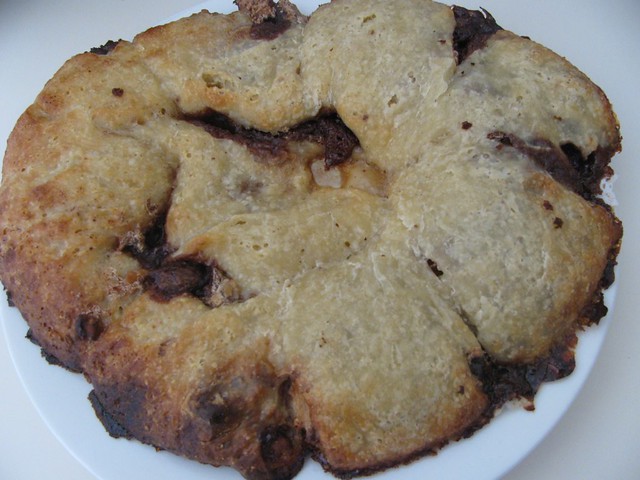
I'm posting late because UB and I have had ridiculous months and when we went to make it I had no flour or money so it got postponed, but its here now. And by jove, is it ugly. I don't even particularly like the taste, but I was planning to eat it all because I hate being wasteful, until (mercifully) some raw mince fell on it and rendered it (more) inedible.

Never cooking during an existential crisis again.


If this has somehow enticed you (or you want to see some other, delightful versions!), you can do so here.

The March 2011 Daring Baker’s Challenge was hosted by Ria of Ria’s Collection and Jamie of Life’s a Feast. Ria and Jamie challenged The Daring Bakers to bake a yeasted Meringue Coffee Cake.

Friday, March 11, 2011

Gluten Free Friday: Alycake

Alycake (and Aly, the Vigilante) was the main inspiration behind GFF. I thought that it would suck to not be able to eat gluten, so originally I was going to do gluten-free week to challenge myself to make things that were tasty and quick and non-glutenous. Then I was like, OR I can do something every week. In retrospect, a lot more (continuous) work, but it's fun! Also now that the Uber-Blonde is GF as well, its nice to know that I can always steal recipes from her blog to replicate if I have an uninspired week. Heh.

So guys, this is Aly, eating her Alycakes at Tim Minchin last weekend.

Actually, before I introduce you, can I just take a second to say OH MY GOD TIM MINCHIN WITH AN ORCHESTRA BLEW MY MIND. And that here is a photo of me and Miss Italia dancing (he hadn't even started by this point, we just decided to get our groove on).


Ok, carry on.


ALYCAKES
Makes 12 small cakes
Total time commitment: 40 minutes
Adapted from recipe on the Xylitol website

2 eggs
75g almond meal
75g sugar
Pinch of baking powder
Vanilla essence (see note below)

1. Preheat oven to 180C. Beat eggs and add other ingredients. Mix until smooth, pour into cake tin and bake 15-20 minutes.

TADA.

But seriously, flavour these however you want. I tried orange, as in the original recipe, but it didn't really do it for me. I've done them with no flavouring in the mixture but lemon zest grated on top. Its a pretty stock-standard gluten free recipe, which just means you can keep adapting it to your (or your lucky gluten-free buddy's) tastes! Bravo, recipe. Bravo.

Friday, January 14, 2011

Gluten Free Friday: Chocolate Cake

Hi pumpkins! I am back from my Sydney/Melbourne adventures, which means more regular blogging. Huzzah! 

This is the cake I used for the Pokemon cake a few months ago. The recipe is from Gluten-Free Goddess, with some tweaks because I didn't have everything on hand (like organic light brown sugar swapped to regular brown sugar). I'm posting it on the good authority of the pantees that it actually tastes good - I had to leave the party early so I didn't actually get to eat any of it! 

FLOURLESS CHOCOLATE CAKE

450g dark chocolate
1 cup brown sugar
1/2 cup white sugar
250g unsalted butter
2 tbsp cocoa powder
8 large eggs
1 tbsp vanilla extract

1. Preheat oven to 180C. Line a pan with greaseproof paper.

2. Melt the chocolate and mix with sugar until combined. Add the butter and cocoa powder and mix.

3. Add the eggs and vanilla, and mix until smooth and creamy.

4. Pour batter into pan and bake until cooked through (roughly 45min-1hr if I remember correctly).

Monday, November 22, 2010

FREEDOM!

Exams are over, which means I *should* be back to regular posting. All in good time.

Meanwhile, how awesome is this cake, if I do say so myself?

Sunday, October 17, 2010

Epic Cake

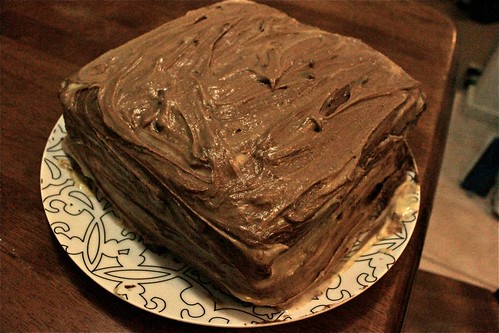
There are no words to describe how awesome this cake is. Miss Italia linked me to it on Facebook and then we decided to have a SKYPEBAKE session and both make it. Needless to say, hers turned out looking a lot fancier than mine (I had no piping bag but even still, I have less decorating skill than she does!), but it is still delicious. The combination was put together by vaguemotives on the bakebakebake livejournal, with chocolate mocha cake, chocolate buttercream icing and salted caramel frosting.

I also managed, at the time, to ruin a batch of pizza dough with my terrible multiplication skills (three cups of flour is not three times the recipe, Emily), somewhat successfully replicate Herbies original recipe garlic bread and make two pizzas with store-bought bases because it was getting late and I was trying to do too many things at once! That was made most evident when I took photos of the cake with no flash and I've had to spend the last half hour editing them to look presentable :P

I'm not going to type out the entire recipe for you (which I know is somewhat going against the point of the blog, but its really long!), however here are some tips:

- We started with the salted caramel frosting, as it has to sit for 25 minutes or so to cool, and then put it in the fridge to set for piping ease (for Miss Italia, for me it was more smooshing ease)

- I baked the cake in two batches, rather than cutting it in half, and it worked beautifully. So if you have the time, do that, although bear in mind that my Skype froze after two hours and 40 minutes and we weren't done :P

- As recommended in the original post, if you double everything in the salted caramel recipe except the butter, thats good.

-


From top: My finished cake, Miss Italia's finished cake, and a grainy-indie-wanker-shot of a slice of cake (which wouldn't be so bad except that there was the whole flash issue... anyway, now I know how to edit on iPhoto)

Monday, August 30, 2010

Chocolate Avocado Cake

On Sunday night I told Tara I would make her a 21st cake, considering her birthday is today (HAPPY BIRTHDAY, MAN) but her party (complete with cake!) isn't for another two weeks. I had great plans to get up early today and find a recipe before I went shopping, and then I woke up late and Gordo (so named for his resemblance to this guy right here) finished uni early so it was a GIANT. CATASTROPHE.

So when I got home, after blatantly lying to Tara and saying I wasn't going to make her a cake at all (tee hee!), I had to find a recipe that wouldn't involve me having to walk down to the shops to buy more stuff. I had just gotten home from grocery shopping, gimme a break. Luckily, I am meticulous with bookmarking recipes I think sound lovely and in my "Sweets" file I found this! I got the recipe from Not Quite Nigella, who got the recipe from Joy the Baker, who I think got it from a cookbook?

I tweaked the recipe a bit - less out of choice or experimentation than necessity. I halved the recipe rather than making a layered cake, used wholemeal flour, used less cocoa powder (we ran out, and I didn't think Milo would work as a substitute) and used raw instead of brown sugar (which I only just realised now, while writing the recipe out).

The dividing lines in the ingredients are just so you don't do what I did and forget to separate the wet and dry ingredients. Balls.

The best bit was, I didn't tell anyone it was an avocado cake until AFTER they'd eaten it, lest they protest about even trying the cake. It worked, everyone liked it! I also covered it with Milo butter icing, which was delicious (and needless to say, makes it decidedly un-vegan... but otherwise, we're good).


CHOCOLATE AVOCADO CAKE

1.5 cups plain wholemeal flour
2 tbsp cocoa powder (unsweetened)
1/4 tsp salt
1 tsp baking powder
-------------------------------------------
1 cup raw sugar
--------------------------------------------
1/8 cup olive oil
1/4 cup soft avocado, mashed
1 cup water
1 tbsp white vinegar
1 tsp vanilla essence


1. Preheat the oven to 180C. Grease the cake tin.

2. Combine all of the dry ingedients, sans sugar (everything until the first dotted line).

3. Combine all of the wet ingredients (the last part of the ingredients list). Add the sugar and combine.

4. Add the wet mix to the dry mix and whisk (by hand!) until smooth. Pour into the baking dish and cook for 30 minutes or until a skewer comes out clean.


Sunday, August 29, 2010

Toadstool Cupcakes


I love being part of a society where you can hold the committee position of Biscuit Wench. My responsibility (as I recall, and correct me if I'm wrong, people who know!) is to bring "delicious baked goods" to rehearsals.

After three weeks of rehearsals three times a week, I finally stepped up today. Considering it was a Sunday and all, I didn't really have an excuse for not bringing anything.

Also, have I sung the praises of this book yet? It is a lifesaver. These cakes were so simple and (more importantly, when you are running late) quick! I've butchered the recipe a little, but it tasted fine and all the cakes were eaten within 10 minutes by some hungry cast members :)


TOADSTOOL CUPCAKES

Makes 24 mini cupcakes (or, I imagine, 12 regular cupcakes)

Cupcakes:
100g unsalted butter
100g self-raising flour
100g caster sugar
2 eggs
-------------------------------
Icing:
50g icing sugar
50g butter
Red food colouring
-------------------------------
Other delicious:
White fondant icing OR white choc drops OR slivered almonds OR cachous


1. Preheat oven to 180C and grease cake tins with butter. Do this really well or you will rue your decision later!

2. Combine all the cupcake ingredients and then spoon into the trays and pop them into the oven. The cooking time will vary depending on what size you have made your cakes so keep an eye on them!

3. Getting the cakes out of the tin may prove to be an issue. If you have a silicone cupcake tray, I imagine it isn't so bad *lusts after one*, but I just ran a knife around the edges and pulled them out and it worked quite well.

4. While the cakes are cooling (or cooking!), combine the icing ingredients. It took me quite a lot of red food colouring and they still ended up a bit pink, but this is up to you. Obviously. I'm not in your kitchen stalking you. OR AM I.

5. No, I'm not. Unless you're Tara, in which case I am because we share a kitchen.

6. Ice the cooled cupcakes with your icing.

7. Place your white toadstool spots on the cake. I cut up the slivered almonds into more manageable sizes, but I would have preferred to have little circles cut out of white fondant. WHY MUST THE GROCERY STORE FAIL ME IN MY HOUR OF NEED. Alternatively, you could dot white choc chips on there. Get creative, peeps!

8. Admire your handiwork before popping one in your mouth.

Sunday, August 8, 2010