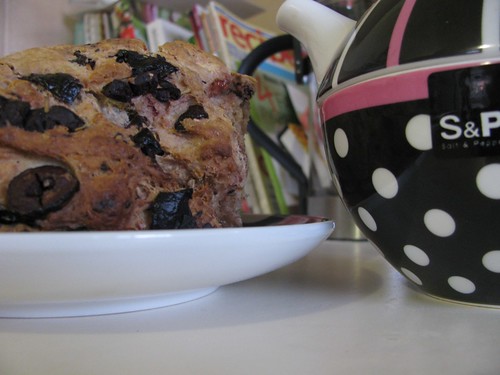
Obviously, it would be remiss of me to post a gazillion curry recipes without a recipe for naan bread. Like bagels, I didn't make these for a while because of the time commitment, but when I was making the pumpkin and lentil curry and was going to be working for four hours beforehand, I thought it was the right time to make it. I'm very impatient, so being out of the house while dough is rising is really the safest option.
I got this recipe from Nicola's blog, go visit her and bug her to post more stuff.
NAAN BREAD Makes 6 naan Total time commitment: 20 minutes prep, 3-4 hours sitting time, 20 minutes cooking. Recipe from This Is Not An Orange Blog
1 tsp yeast
¾ cup lukewarm water
2 cups flour
1 tsp salt
1 tsp sugar
Pinch of baking soda
2 Tbsp olive oil
2 ½ Tbsp natural yoghurt
1. Dissolve yeast in water. Set aside for 10 minutes or until it starts to foam up.
2. Mix flour, sugar, salt and baking soda in a medium-sized bowl.
3. Add oil and yogurt, and mix to a crumbly dough. When you do it, you'll realise why crumbly is the right word.
4. Add yeast and water mixture and mix to a soft dough. Knead for a while.
5. Return to the bowl, cover with a tea towel, and sit the dough in a warm place for 3-4 hours.
6. Good to see you back! Cover your work space with flour and bring out the dough. Divide into 6 evenly-sized lumps.
7. Roll each lump into an oval.
8. If you are using a frypan, here are Nicola's directions: Heat some oil to very hot in a heavy pan. Chuck in one of the doughvals (hah). It’ll probably stretch out a bit as you pick it up and place it in but that is fine! As it cooks, air bubbles should puff up. Flip over when underside is getting golden brown. Take it out when it looks like naan. Rub with some garlic. Yeaaahhhhh. Repeat with remaining doughvals.
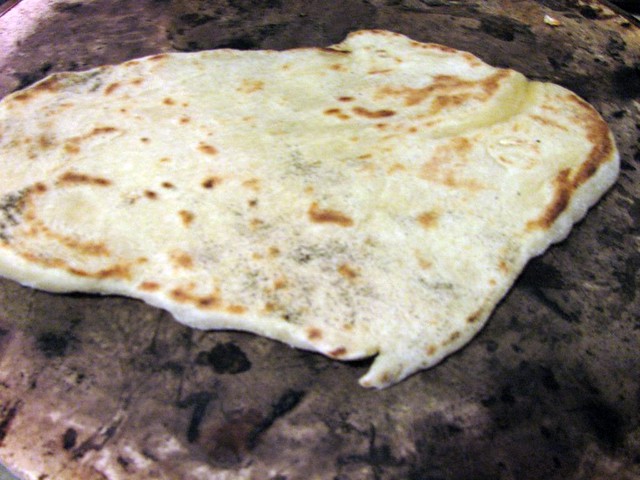
I used a pizza oven instead, so rather than using oil, I floured each side of the bread and cooked it in the pizza oven. It was less puffy and oily (obviously), but still delicious.
To follow on from the potato and spinach curry the other day, this was how most of the curry was utilised. I love me some (mild) curry, and I also love bread, so this was a pretty natural fit!
I've added a new section just under the recipe title for 'cost'. Because I'm a frugal student, I've started figuring out how much recipes cost per serve. I'm also adding the tags "under $1" and "under $2" for recipes under $1 or $2 per serve. Obviously things will cost different amounts depending on where you live and what's in season, but this is how I've calculated things and its good as a rough guide.
FLATBREAD WITH CURRY Serves 8 Total time commitment: 2 and a half hours Recipe from the Kitchn Cost: $1.37 per serve
1 quantity curry (the curry can be made up to three days ahead)
2 cups warm water
2 tsp yeast
4 1/2 cups flour
2 tsp salt
1. In a medium sized bowl, dissolve the yeast in the warm water. Add the flour and salt and form a dough.
2. Turn the dough onto a work surface and knead until it forms a tacky ball of dough. If the dough is sticky rather than tacky, add some extra flour.
3. Grease a bowl (I used the same one, just cleaned out, because I am lazy and hate dishes) with a little olive oil to prevent the dough from sticking, put the dough in the bowl, cover, and sit for 2 hours to rise. You can also leave it two days in the fridge if your schedule makes that easier.
4. Divide the dough into 8 pieces and roll each into a circle about 20cm in diameter. Place some spoonfuls of curry onto half of the dough and flatten the curry, leaving a diameter. Fold the top of the flatbread over the top and pinch the edges together (like a Cornish pastie).
5. Preheat the oven or grill to about 180C. Leave the flatbread out while the oven/grill is preheating. Cook flatbread until it looks done, essentially. Mine burnt a little on the edges but I feel like that's the equivalent of getting grill marks on it.
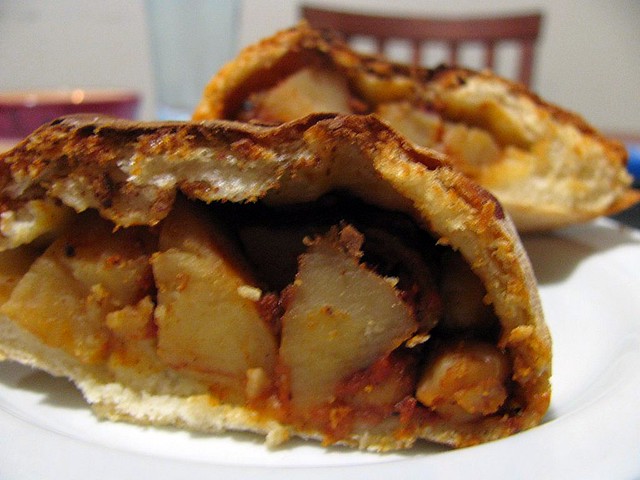
These were my hot cross bun substitute, and I enjoyed them very much. Thats why the photo is so unimaginative, because I was too busy eating. Facts! Enjoy them.
SWEET POTATO BISCUITS Makes 24 Total time commitment: 15 minutes active, 15 minutes cooking Recipe from The Kitchn
2 cups flour
85g butter, cubed
1 large sweet potato, cooked and mashed
1/2 cup buttermilk
1. Preheat oven to 180C. Put flour in a bowl and cut in the cubes of butter until they are little pebbles of butter.
2. In a separate bowl, combine sweet potato and buttermilk. Add to the flour and butter mixture, and form into a ball.
3. Place the dough onto a lightly floured surface and pat out to about 2.5cm/1 inch thickness. Don't use a rolling pin or you'll RUIN EVERYTHING.
4. Cut into circles with a cookie cutter or use a knife and make squares. Whatever floats your boat. If you do circles, roll up the scraps and pat out again and just keep making circles until its all gone.
5. Place the biscuits on a tray and bake for 10-15 minutes. Delicious.
I've had this recipe bookmarked for I don't know how long. Actually, that's a lie, I've had it bookmarked since it was published on February 15, but two months is a long time.
I went to make it shortly after I bookmarked it, but I had no bread flour.
I went to buy bread flour at the supermarket, but you can only get it in 5kg bags.
I went to the place where you bring your own containers, and tried to buy some there. They had weevils in their bread flour. I told the sales lady and she opened a new bag for me.
I took that home, but didn't have enough time for all of the rising the bread needs to do (FLATBREAD, WHY YOU NEED RISING TIME), so I left it.
I went to make it again, opened the bread flour, and it had moths. Decided never to go back to that store again.
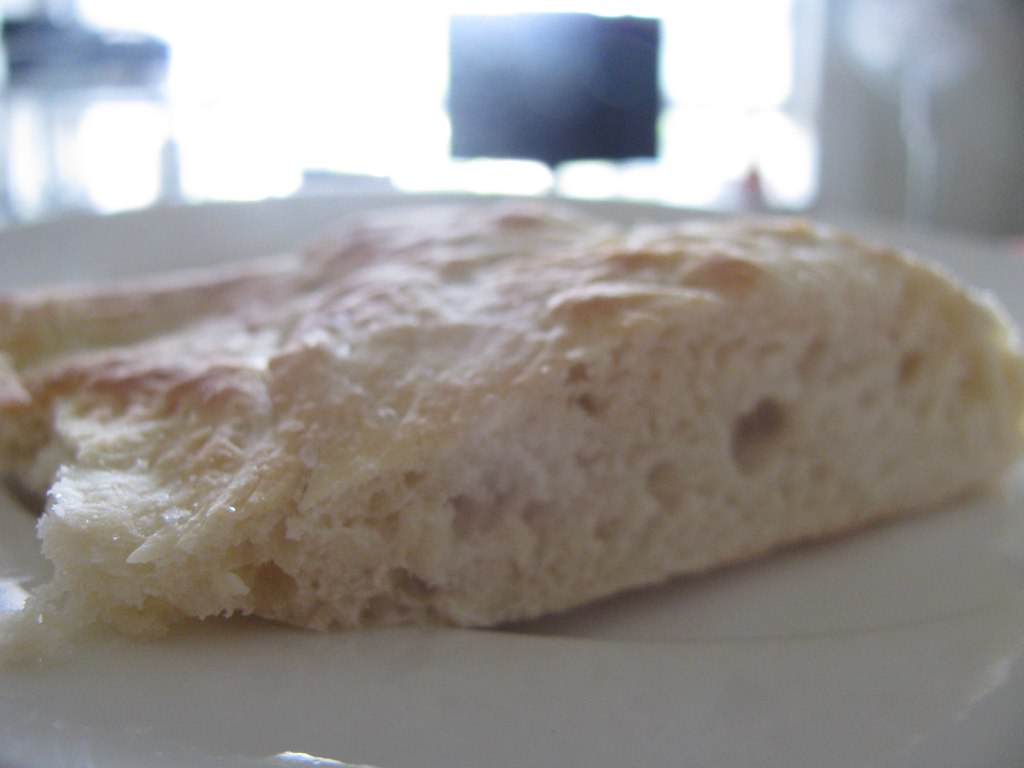
Yesterday, was hungry, made it with regular flour. Deliciousness ensued. To think I could have avoided all that malarkey! If you eat this straight out of the oven, it will actually change your life.
FLATBREAD Makes 9 large slices/one square sheet pan Total time commitment: 20 minutes active, 2 hours 15 minutes resting Recipe from The Kitchn
1 1/4 cup warm water
1 1/4 tsp yeast
1 tbsp granulated sugar
3 3/4 cups plain flour
1 1/2 tsp salt
Olive Oil
1. Dissolve sugar and yeast in warm water in a large mixing bowl. Add the plain four and salt, and mix until combined. I have decided bread is my gym-less way to massive guns, you can use a dough hook on your mixer if you are so inclined.
2. Transfer dough to a lightly floured surface and knead for a few minutes, then shape into a ball. Transfer the ball into an oiled bowl, cover, and let stand for 90 minutes. The recipe specifies to do this 'somewhere warm', Western Australia seems to have no shortage of warm at the moment.
3. HELLO. Please get your dough out of the bowl. Oil a sheet pan and put the dough on it, and spread it out to the edges. I needed a bit more kneading to get the dough to cooperate, maybe if you own a rolling pin that isn't so much of a problem. Drizzle with olive oil, and let stand for 45 minutes.
4. Preheat your oven to 200C, sprinkle the bread with salt, and bake for 20 minutes until the bottom is browned and the bread smells yummy.
This has been a very flour-oriented week, I apologise. If it helps, I've used 2kg of flour in the last week, so thats why. Everything I wanted to make happened to have flour! But I kind of retract that apology because these bagels are incredible.
(I believe its pronounced "baggel")
I've called these poor man's bagels because I didn't have any of the fancy, "essential" ingredients like high gluten flour or malt powder/syrup. If you've ever made bread, chances are you already have everything to make these. When I say "flour", I mean plain flour/all-purpose flour. Don't shy away from the recipe because you have to boil them then cook them - heaven forbid!! - its not too difficult (just time-consuming) and the dough is really nice to work with.
BAGELS Makes 8 Total time commitment: 3 hours on day one (2 hours resting then 20 minutes resting), 45 minutes on day 2. Note that day 2 can be the day after - three days after day 1. Bear with me, it'll make sense. Recipe from The Bread Baker's Apprentice, posted on Smitten Kitchen
1 tsp instant yeast
4 cups flour
2 1/2 cups room-temperature water
--------------------------------------------
1/2 tsp instant yeast
3 3/4 cups flour
2 3/4 tsp salt
1 tbsp honey or brown sugar
--------------------------------------------
Toppings you would like to use, like sesame/poppy seeds
Day One
1. Collect all your ingredients from section one. These will form the "sponge". Mix the yeast into the flour, and for the love of goodness, make sure your bowl is big enough to not spill flour everywhere. Add the water and stir until it forms a mixture not unlike pancake batter. Cover with cling wrap and leave for two hours.
2. Is the mixture foamy and bubbly? If you tap the bowl on the counter, it should knock the mixture down. If that isn't happening, wander off for another ten minutes and check again.
3. Good! Now we're onto the dough. Collect up your ingredients from section two. Add the extra yeast and stir it in. Add three cups of flour, the salt and honey, and stir it in. Slowly add in the next 3/4 cup of flour to stiffen the dough.
4. Transfer the dough to your work surface and knead. Don't flour the surface as you don't want "raw" flour into the mixture, and the dough shouldn't be tacky. If it is, add a little flour. Make sure it passes the windowpane test. If its too dry to windowpane nicely (can you use windowpane as a verb?), add a few drops of water to the dough and continue kneading. You should knead for around 10 minutes by hand, or 5 minutes by machine.
5. Divide the dough into your bagels! I made 125g bagels if I recall correctly, and they were big enough to fill me up in the morning. Don't worry about making them bagel-shaped right now, just get them into rolls. Cover with a damp cloth and leave for 20 minutes.
6. Line two trays with baking paper, and then add a little olive oil to the baking paper (if you have spray oil, use that. Don't omit this step - I thought I could just use baking paper without oil and ended up with some bits of baking paper on my bagel). Now you get to make your bagel holes! All you need to do is stick your thumb into the middle of the bagel and wriggle it around a bit to form a hole in the centre.
7. Place the bagels 5cm(ish) apart on the trays. Cover them lightly with olive oil (again, a spray one would do well, but I put some on my hands and brushed them. We're all class on this blog), cover with plastic wrap and leave to sit for another 20 minutes.
8. Here's the fun bit! Fill up a bowl with water and drop a bagel in there. If it floats within 10 seconds, you are golden. Pat your little soldier bagel dry and put the bagels in the fridge overnight, your job now is done. If it doesn't, leave the bagels out for another 10 minutes and try again. Note that when I say "leave your bagels in the fridge overnight", this can be anywhere from overnight to two days.
Day Two (or three or four)
1. Preheat the oven to 230C, with two racks set in the middle of the oven. Boil some water in a large pot.
2. Remove the bagels from the fridge and gently drop them in the water. Keep your baking paper, we'll use it again to cook them and be nice to the environment. Perhaps give it another light misting of olive oil, though. The bagels should be floating, which means you'll need to flip them after a minute or two (two minutes gives you chewier bagels). Once they're all boiled and back on the tray, pop them in the oven for five minutes, then rotate the pan 180 degrees so they cook evenly. Check back in another five minutes, but I let mine cook for 15 minutes overall to give them a nice, golden, bagel-y colour.
3. Remove the bagels from the tray immediately (or you'll get their little bottoms stuck) and cool on a wire rack. Yum!
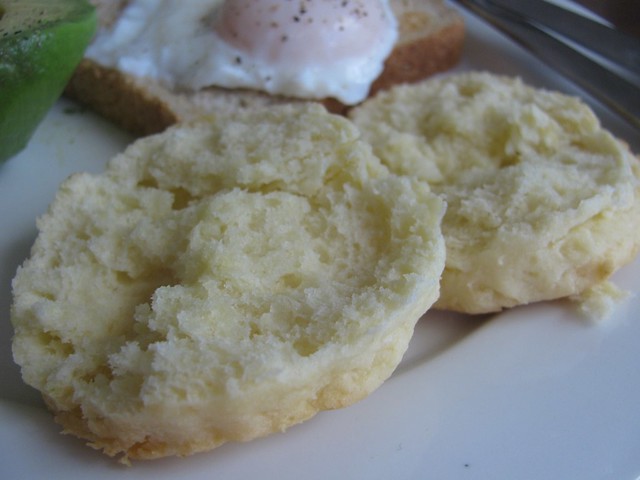
I remember the first time I ate these. A bunch of us were having brunch and the Uber-Blonde (I'm going to refer to her as UB from now on, because I'm lazy) brought these along. There was confusion everywhere. Why are there scones at breakfast? Where is the jam? WHAT DO YOU MEAN THEY'RE SAVOURY?
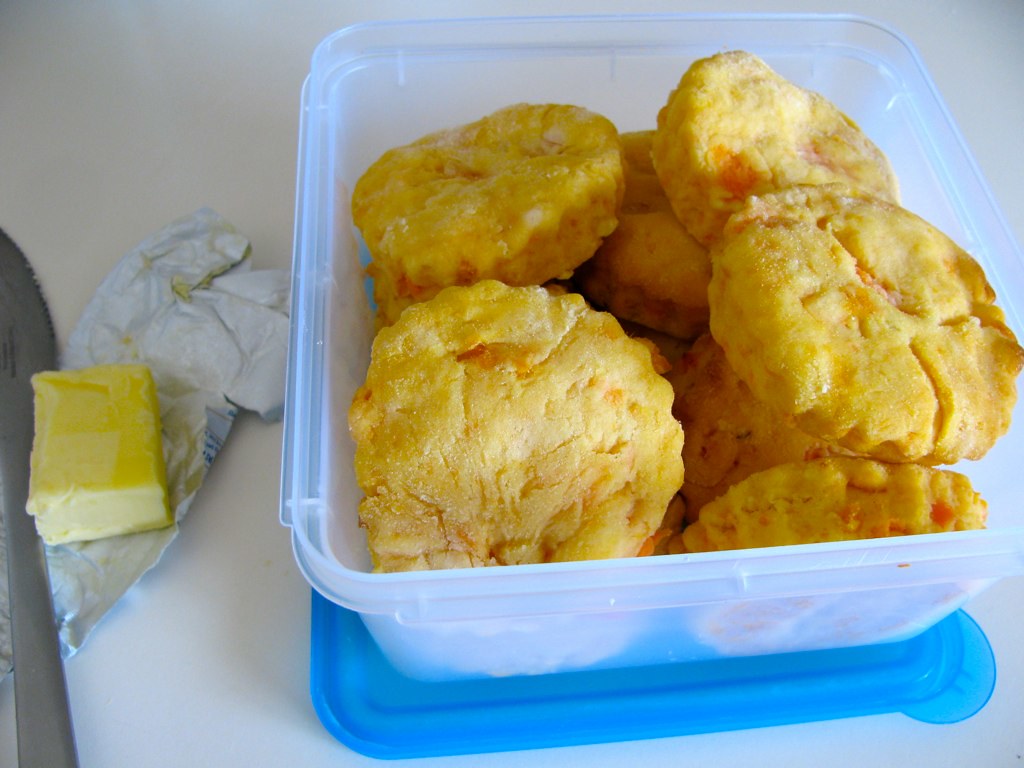
All very rational reactions, I feel. And needless to say (because I've made them myself now, six months later), I enjoyed them once I got over the initial shock. I was originally intending to make cheesy American biscuits from a recipe from a magazine, but this recipe (Dorie Greenspan's Basic Biscuit recipe) was so much simpler. They tasted best straight out of the oven, even though I kept the biscuits in an airtight container they dried out fairly substantially. Not that it stopped me eating them, though!
As a note: The reason I've titled this "American" biscuits is because what we call biscuits in Australia are what Americans call cookies. "Cookies" isn't really a term over here, at least not a commonly used one. Similarly, I'm fairly sure the hotcakes I posted the other day would be referred to as pancakes in America, our pancakes are thinner than that. Woo for cultural differences!
280g plain flour
2 tsp sugar
1/2 tsp salt
90g cold, unsalted butter, cut into pieces
3/4 cup whole milk
1. Preheat the oven to 220C. Line a baking tray with baking paper.
2. Combine dry ingredients in a bowl. Cut the butter in to the dry ingredients - this means you need to work the pieces of butter in to the dry ingredients using your fingertips. When you're done, it should have a crumbly consistency.
3. Add the milk and combine with a fork (we're all about the fancy utensils in this kitchen, I know) until the dough is soft. Do away with the fork, make sure your hands are clean and get in there and knead! It should only take three or four turns until everything is combined, but you don't want any stray flour at the bottom of the bowl (something I struggle with daily, I promise).
4. Lightly dust your work surface with flour and roll the dough out/pat out with your hands (again with the fancy utensils attached to your arms) until it is a couple of centimetres thick. Use a biscuit cutter (or glass) to cut out the biscuit shapes and place them onto the baking tray. The dough can be re-rolled (I'm sorry, did someone just say
Yeaaah.)
Good morning pumpkins! I hope your week has started off splendidly. I overslept and now I'm a bit grumpy (not that I missed anything, but its true that when you turn off your alarm and fall back asleep you feel worse when you eventually get up), but I'm going grocery shopping soon and then working through my massive to-do list before Panto starts up again tonight! Its Scooby-Doo themed, and we find out the casting tonight. Fingers crossed my Velma-esque haircut swayed the casting panel a bit :P From what I've heard so far, the script is hilarious so I am mucho excited.
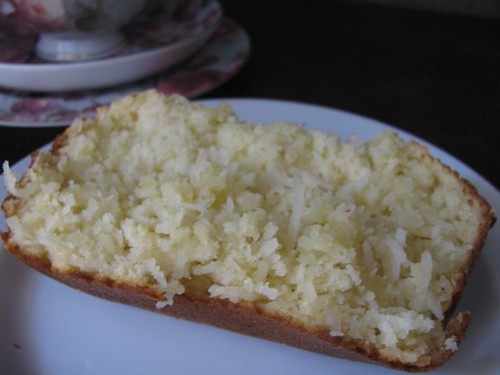
I was also mucho excited to make this Jamie Oliver recipe coconut bread, because I thought it would be a good breakfast food, and gosh-darn was I right! My only problem was that there was a lot of sugar (luckily after reading the UB's post on Jamie Oliver sorbet, I had the foresight to halve it when I thought the measurement was excessive) and it was kind of cakey in consistency as opposed to bready, but I also undercooked it a little so the middle was still a bit doughy and that could be why. Regardless, it was a nice breakfast and snack food while it lasted!
COCONUT BREAD Serves 8-10 Total time commitment: 1 hour 30 minutes, most of which is baking Adapted from Jamie Magazine, Sept/Oct 2010
1. Preheat oven to 180C and grease a loaf tin with butter. Whisk eggs and milk together.
2. Combine dry ingredients (flour, sugar, coconut and vanilla) in a bowl. Make a well in the centre and gradually add egg mixture, then butter, mixing until smooth.
3. Bake for one hour.
Notes:
- The original recipe calls for 200g each of sugar and coconut
- Recommended loaf tin size is 22x8cm
- You are pretty :)
Goodness, has it been over a week already? I'm sorry, Pumpkins (yes, that is your collective "readers" name, deal). I was on a family holiday and obviously hadn't scheduled any posts. I should get onto that for next time I'm away.
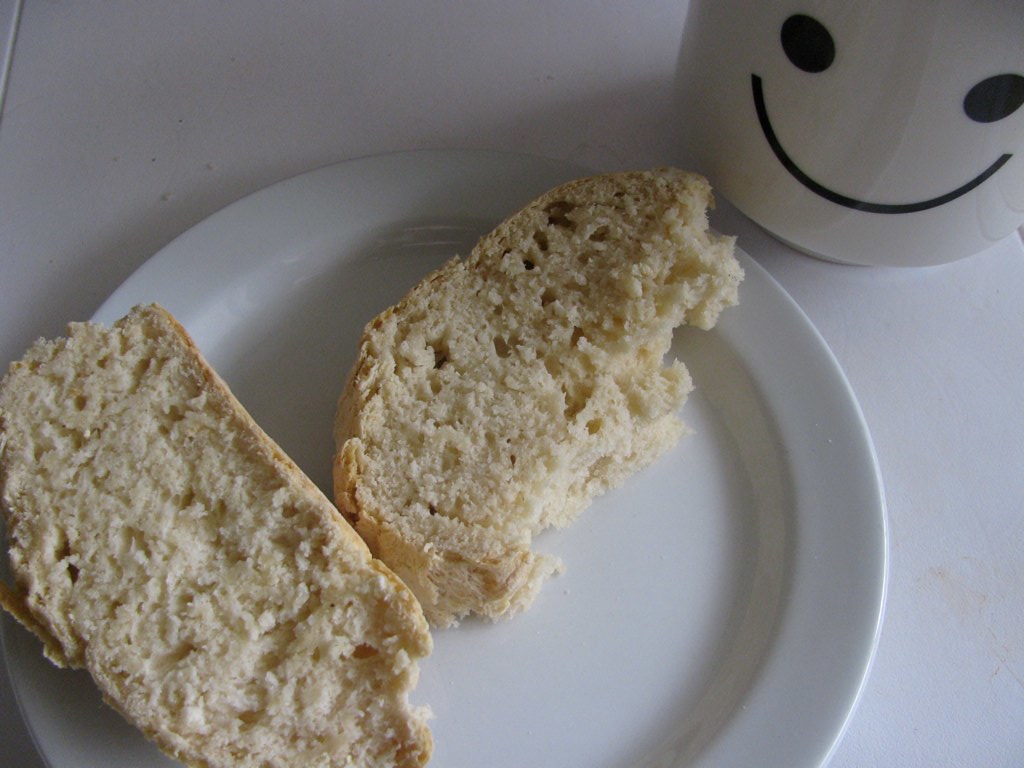
Since I started my kitchen cupboard overhaul, which will ideally end with me having most baking/cooking staples on hand always (like flours, cous cous, pasta, olive oil, baking powder, icing sugar, granulated sugar, caster sugar... that sort of lark. And vanilla essence. We can't forget that I never have vanilla essence), today has been the first time I've actually been able to announce "I'm going to go whip us up a snack" and had everything on hand. It was quite a momentous occasion, even if this is a fairly simple recipe :P And, to be fair, originally I'd wanted to make this, but I didn't have any bread flour or gluten to be able to make my own (thanks, Google, but we can't substitute today). So this was more of a second choice, but its so dreary and overcast - although a welcome break from the 35 degree days - that it went down nicely with a pot of tea.
BEER BREAD
Original recipe from The West Australian 'Fresh' liftout, many years ago.
Makes one decent-sized loaf of about 12 slices
Total time committment: 5 minutes prep, 45 minutes in oven
4 cups SR flour
2 tsp salt
2 tsp sugar
375ml can beer
1. Preheat oven to 180C. Combine dry ingredients in a bowl. Make a well in the centre and pour in the beer. Mix well.
2. Knead on a lightly floured surface and shape however you would like.
3. Place onto a tray with baking paper and cook away.
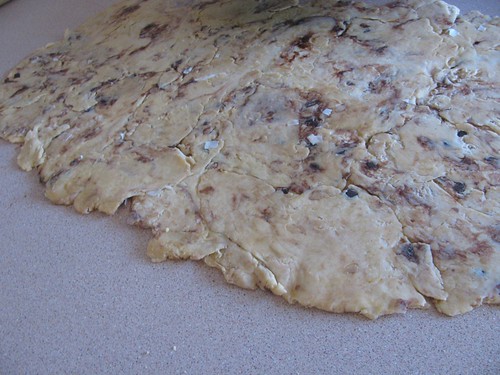
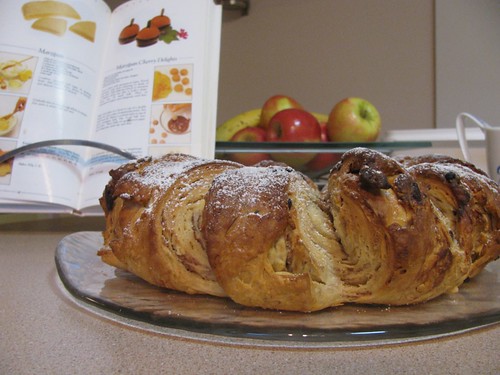
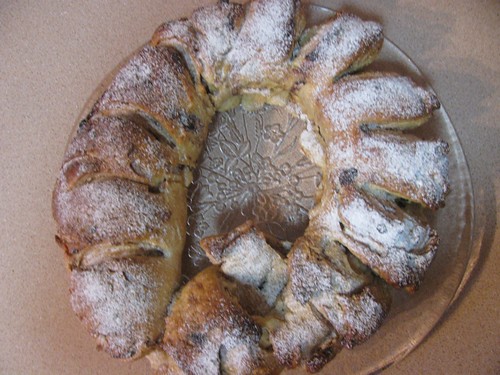
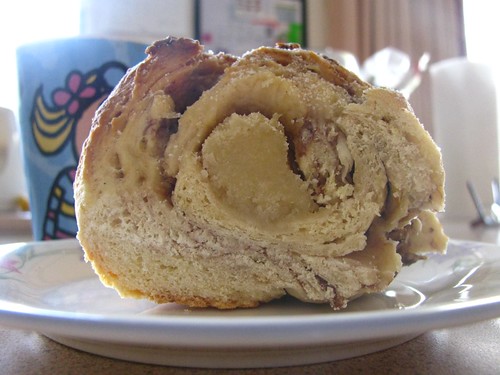
The 2010 December Daring Bakers’ challenge was hosted by Penny of Sweet Sadie’s Baking. She chose to challenge Daring Bakers’ to make Stollen. She adapted a friend’s family recipe and combined it with information from friends, techniques from Peter Reinhart’s book.........and Martha Stewart’s demonstration.
As much as I love Christmas, I'm not big on "Christmassy" sweet food - fruit mince tarts, fruit cake, pudding, I don't really like any of it. Common theme here? I hate fruit mince. And dried fruit. And muesli with dried fruit in it. So I wasn't overly enthused about making the Christmas Stollen. And then I started making it, and got told I wasn't even allowed to use the fruit mince because then we'd have less fruit mince tarts. So this turned into more of an Australian Christmas stollen - dark chocolate, coconut and almond. By Australian, I mean Emily-friendly.
I also learnt the phrase "mise en place", meaning you weigh/measure everything out BEFORE you start cooking. Ingenius, I must say.
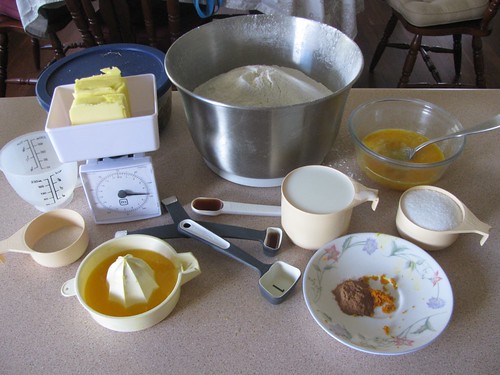
This is a standard bread recipe that I adulterated from Jamie Oliver's Happy Days with the Naked Chef. The measurements are what I used to make five small (roughly palm-sized) rolls, but thats only because its what I had left in flour without breaking into a new packet! I'd suggest doubling it if you want a decent loaf of bread.
BREAD
200g flour
125mL lukewarm water
10g dried yeast
1/2 tbsp sugar
1/2 tbsp salt
1. Place flour in a bowl and make a well. Pour in approximately half the water and add yeast, sugar and salt.
2. Combine ingredients to a porridge-like consistency, add the rest of the water and combine.
3. Knead the dough, cover in cling wrap and leave for half an hour.
4. Knock the air out of the dough (punching it a few times usually works) and form it to the shape you want. If you want to add fillings to your dough, do it now.
5. Leave the dough to prove until it has doubled in size (I normally cover it with a teatowel at this stage).
I like bread. I like almost anything with carbohydrates, really. I was planning to make ciabatta for my friend's Italian feast last Sunday, but it looked too hard. So I made this instead. True story. But a bit different, because I don't know what a dutch oven is.
Olive, Rosemary and Feta Bread
1 cup lukewarm water
2 1/2 teaspoons instant yeast
1 tbsp sugar
1/2 tsp dried rosemary
2 1/2 cups plain flour
1/2 tsp salt
2 tbsp olive oil
1/4 cup crumbed feta
1/2 cup kalamata olives, pitted and chopped roughly
1. Combine lukewarm water, yeast, sugar, dried rosemary and 1 cup of flour. Cover with glad wrap and set aside for 15-20 minutes, after which it should be light and airy.
2. Add the rest of the bread flour and salt, and knead until the dough is light and airy.
3. Add olive oil, feta and olives, and knead until combined. Drizzle some olive oil in a plastic bag and whack the bread in there, making sure its covered on all sides by the olive oil so it can chill in the refrigerator for a while.
4. After at least an hour, knead the dough in the bag (but not in the fridge) to knock the air out of it. Pop it back in the fridge.
5. Go and have a nap, or a good night's sleep.
6. The next day, or post-8 hour nap (however it works out), thoroughly knead the bread while still in the plastic bag. Leave it to warm to room temperature.
THIS BIT I AM NOT SO SURE ABOUT BUT THIS IS WHAT I DID.
7. Knead the bread again once it has gotten to room temperature. Shape it into the shape you want, cover with a damp teatowel, and leave to rise until it has doubled in size. While you're waiting, preheat the oven to 200C.
8. Put the bread in the oven and cook until it is done. Then cut it up and enjoy it.
I bookmarked this recipe from Closet Cooking a while ago during my week off uni because I thought the Boyfriend would like it, primarily because it combines three of his favourite things IN BREAD. I made pizzas with Tara and we had a whole bunch of pineapple left over, so Spazzy McGee and I made it into the bread and invited the Boyfriend over for it. It was a-ma-zing, and made a really gosh darn awesome breakfast the next morning. I am going to apologise for the quality of the photos, but it was a midnight snack when he got home from work and I was tired etc etc.
CURRIED PINEAPPLE AND BANANA BREAD
1 1/2 cups of plain flour (the original recipe called for 1 cup plain and 1/2 cup wholewheat but I am not that fancy)
1 tsp baking soda
1/4 tsp salt
3 tbsp curry powder
3 ripe bananas, mashed
1/2 cup butter, melted
1/2 cup sugar
1/2 cup brown sugar
1 egg
1 tbsp lime juice
--------------------
1 cup pineapple
2 tbsp coconut flakes
1. Mix dry ingredients (flour, baking soda, salt and curry powder) in a bowl
2. Mix wet ingredients (bananas, butter, sugars, egg and lime juice) in another bowl
3. Add dry ingredients to wet ingredients and combine
4. Mix in pineapple and coconut
5. Pour batter into a baking dish (I don't have a bread pan so I just used a regular one. It is up to you. Whatever floats your boat)
6. Bake for 1 hour(ish). Check with a toothpick/baking skewer/chopstick/fork (can you tell I'm a uni student living out of home?) whether its done - insert your weapon of choice into the centre of the bread and if it comes out clean, its done.